
As an affiliate marketer and Amazon Associate I earn from qualifying purchases. This just means that if you click on a link in my blog and make a purchase, I may earn money or products from the companies mentioned in this post at no additional cost to you.
See my affiliate disclosure here
Why Use Candles In the First Place?
If you are reading this post, then you probably don’t need a reason. You’re probably already enjoying candles and just want to make sure you know how to burn a candle the right way. However, on occasion people may have conflicting feelings about things like candle safety, toxicity and types of candles. I’ll try to answer all of this here. But first, a quick glimpse into why I use candles.
There’s something about a candle flame that lends a cozy feeling to the atmosphere. It gives off a feeling of warmth and comfort. Candles can add so much to the ambiance of a home when used correctly. I love them, and burn them quite often. My favorite and preferred time to burn them is when it’s cloudy and raining. It makes the whole room feel cozy. Below, I’ll show you how to burn a candle the right way.
I remember one rainy day when our son was in sixth grade, he came home with a big smile on his face. When I asked why he was so happy, he said, “Because, I knew that since it was raining, you would have candles lit and cookies in the oven!” He was correct, I had candles lit, and chocolate chip cookies in the oven.
This is such a simple thing to do, but it gives my family a sense of being loved. I made it a habit to do this when my children were quite young, and no, I haven’t been able to bake cookies every single time it rains, but I do it as often as possible. As for lighting candles on rainy days, that happens more often than not.
As you can see, candles play an important role in the ambiance of our home. I use them extensively, but also cautiously. Below, I’ve given you all of my best tips and advice for how to burn a candle the right way. Hopefully, it will give you the knowledge and confidence you need to enjoy these warm pools of light in your home too.
Topics
- Place On a Level Surface
- Trim the Wick Before Each Burn
- Melt the Candle Wax Fully Across
- How to Stop Tunneling
- Buy Multi-Wick Candles
- Use Long Matches or Lighters
- 4 Hours Maximum Burn Time
- Don’t Blow Out the Flame
- Never Use Water to Extinguish a Candle
- Keep the Candle Lid On When Not in Use
- Always Place Candles on A Heat Safe Surface
- Candle Safety Tips
- FAQ
- How to Find Reputable Candle Companies
Place On a Level Surface
This one may seem like a no-brainer for all of you. However, I’m not referring to a steep incline. Some older homes have unlevel floors. Once we actually lived in a house that had a hump in the middle of the dining room floor. Unfortunately, we also had a glass topped dinette set. After the glasses had been on the table for a little bit, the condensation build up would cause the glass to slowly slide across the table. Good times…
With that being said, be sure that your candle is on a level surface, otherwise, the wax will pool to one side and cause your candle to burn unevenly. It will eventually cause the candle to tunnel and waste a lot of wax.
Here are some other posts you may enjoy.
- Creamy Homemade Hot Cocoa Mix
- The Easiest Guacamole Recipe
- Cauliflower Bisque
- Easy Fire Roasted Sweet Chili
- Chicken and Rice Casserole
- Glazed Carrots
- Garlic Dill Potatoes
- Chocolate Pie Recipe
- Apple Cheesecake Crumble
- Homemade Laundry Detergent

Trim the Wick Before Each Burn
When you first purchase a candle, the wicks are pretty long. Before you burn your candle each time, trim the wick to 1/4″. Keeping your wicks trimmed will prevent candle smoke. A lot of people frown on candle use, because they say that candles smoke up the house. Actually, not trimming your candle wicks will smoke up the house, and definitely NOT the best practice for how to burn a candle.
Watch your candles, and if you have been burning them for a while and notice a plume of smoke coming off of the flame, put the candle out and allow it to cool. Then, trim the wick back to 1/4″ and relight it to stop the smoking. Just be careful not to trim the wick too short or it will drown in the wax. By the way, you don’t need a fancy wick trimmer for this, a pair of scissor or finger nail clippers for small candles or votives work just as well. However, I do love my pretty wick trimmer. It’s totally up to you.
Melt the Candle Wax Fully Across
One of the most important tips for how to burn a candle, is to allow it to burn 3-4 hours each time, especially the first time it’s lit. Candle wax has “memory.” If the wax doesn’t melt all the way across the top of the candle for each burn, then the wax will start to tunnel. By tunneling, I mean that the wax will only burn in the same area that melted the last time. It’s not going to melt smoothly across the entire surface anymore, without intervention. This will waste a lot of your candle and also burn it up faster.
How to Stop Tunneling
If you have a candle that’s started tunneling, don’t worry, I’ll tell you how to fix it. There are a few ways to correct your problem. The first is to wrap the outside of your candle with foil, allowing it to drape over the top edge of the candle. You only want enough of an opening for the flame to get oxygen. Light your candle and allow it to burn for 3-4 hours, keeping check on it. The foil wrap should evenly heat up the candle and melt the wax on the outer edges of the candle. However, this is not my favorite method.
I prefer to take a blow dryer on low setting, or a heat gun, and heat up the surface of the candle. If the tunneling isn’t too bad, this is a pretty quick process. Just heat the surface of the candle until the top is smooth and even.
The third method, is to put your candle in the oven @ 175 degrees, for 5-10 minutes. I would use this for really bad tunneling. Just note that you may have to pour out some of the wax, if the wick starts to drown. *BE SURE TO POUR MELTED WAX INTO AN EMPTY CAN AND THROW IT AWAY. NEVER POUR ANY TYPE OF MELTED WAX DOWN YOUR SINK DRAIN. IT WILL HARDEN AND CLOG YOUR DRAIN.* Now make sure that the wax is fully melted across for each burn, and you won’t have any more tunneling problems.
Buy Multi-Wick Candles
One big mistake people sometimes make when purchasing candles, is to purchase candle with a single wick. Believe it or not, having multiple wicks will extend the life of your candle. By heating the entire surface of the candle, you’ll be using up all of the wax. If you purchase a large candle with only one wick, then it doesn’t matter how long you burn it, the candle is most likely not going to burn evenly and will start to tunnel, leaving a large amount of wax unused. Opt for candles with multiple wicks and a soy/paraffin blend for a longer, cleaner burn.
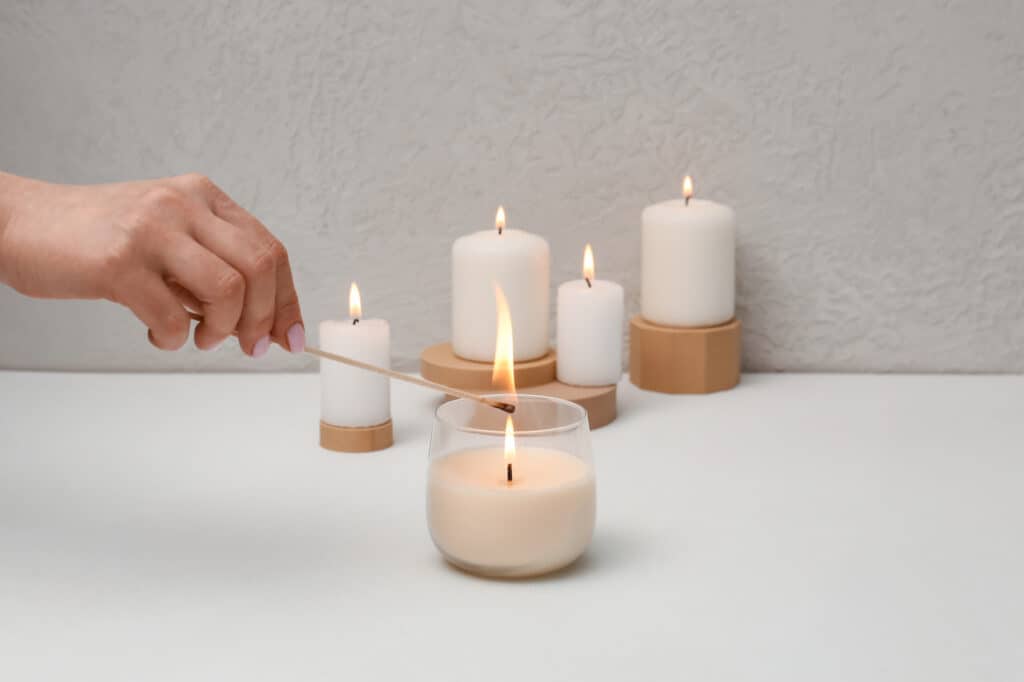
Use Long Matches or Lighters
It’s a really bad idea to use a small lighter to light a jar candle. I’ve heard of people trying to put their hand in the jar, and the jar broke, causing serious cuts. I won’t say I’ve never used a smaller lighter, but it’s far safer to use long matches or lighters for candles. I keep several of the long handled lighters in various rooms of my home for easy access. My husband buys lighter fuel and refills mine for me.
4 Hours Maximum Burn Time
When you are burning a candle, a good rule of thumb is 4 hours. I check on mine well before the 4 hour point, but 4 hours is the absolute longest that a candle will burn without needing the wick trimmed. If the candle is lower quality, it could only be a couple of hours. Keep and eye out for plumes of smoke coming from the flame. You’ll want to trim the wick back to 1/4″ before continuing to burn your candle.
Avoid Drafts
You should never place a candle anywhere near an open window, fan or air conditioning vent. Anything that could create a draft on a candle is a serious fire hazard. When learning how to burn a candle, safety is always the number one priority. Additionally, keep candles well away from curtains, blinds, hanging plants, etc.
Don’t Blow Out the Flame
There are a couple of reasons that it’s best not to blow out your candles. First of all, they will emit a plume of smoke. While it may not seem like a big deal, over time, you’ll see soot build up on the ceiling or wall near your candle.
Second, depending on your type of candle, you may blow wax out onto your table or table cloth. It’s not fun to clean up and darker dyed wax can ruin your tablecloth.
Instead of blowing out your candle, use a wick dipper. Alternatively, you can take a large paper clip and straighten it. Then make a small “hook” shape at one end. Use the hooked end of the paperclip to gently dip your candle wick into the melted wax to extinguish the flame. Then straighten the wick back up into position. This will keep your candle from smoking when you’re finished burning it.
If you are using a wood wick candle, you obviously can’t “dip” the wick into the wax. Your easiest option is to just replace the lid of the candle, if it has one. The lack of oxygen will cause the candle flame to go out. You can do this with any candle that has a lid.
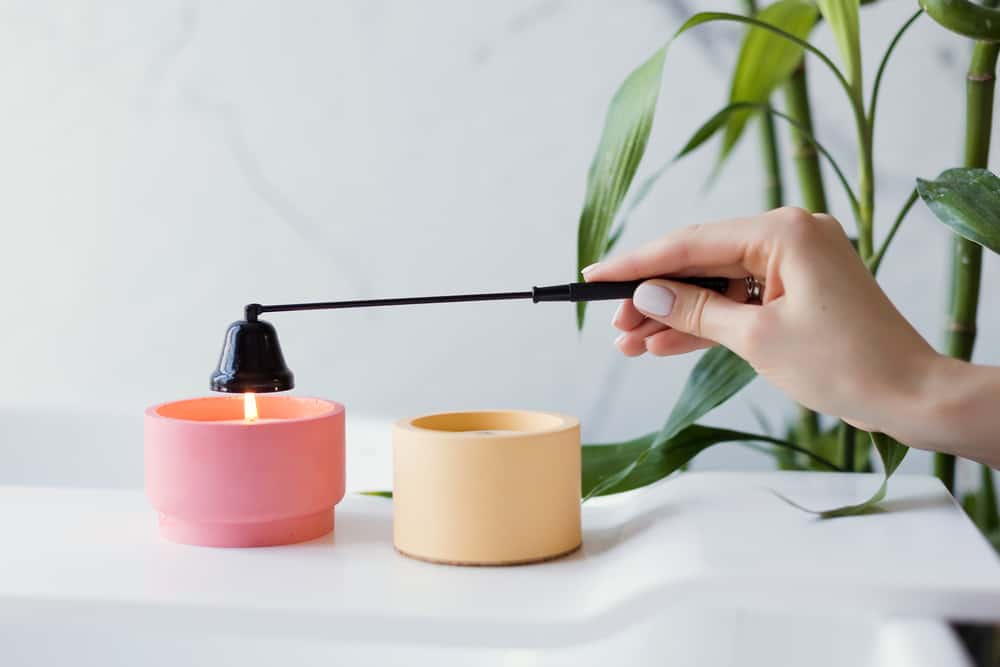
I prefer to use a candle snuffer for wood wick candles, tapers, votives or any type of candle that I can’t dip the wick to extinguish. You’ll still have a small plume of smoke, but less than if you tried to just blow it out. Hold the snuffer over the flame for several seconds and it will trap most of the smoke. You can then just wash the inside of the snuffer out in warm, soapy water.
Never Use Water to Extinguish a Candle
Using water to put out a candle is really dangerous. The oils in the wax react the same way as a grease fire. When you douse either with water, the fire will spread and burn the oil or wax on top of the water. When I was really young, I had a pretty scary experience with just how dangerous this type of fire can be. Thankfully, I wasn’t injured and learned how to burn a candle the right way.
Keep the Candle Lid On When Not in Use
It’s best to keep the lid on your candles when your not burning them. This will keep dust and debris out of your candle. Dust and debris can cause uneven burning, smoking and crackling. Replacing the lid after using will also keep your candle fragrance from fading. Fragrance fading can happen over time, if your candle is left uncovered. Keeping the lid on your candle will also keep children from playing in the candle wax.
Always Place Candles on A Heat Safe Surface
When you first start burning a jar candle, the bottom of the jar is probably not going to heat up. However, as the wax begins to melt and the flame gets nearer to the base of the jar, the bottom can get quite hot. You should always set a candle on a heat safe surface. I typically set all of my jar candles on top of their lid’s when I burn them. You can also use an oven safe saucer, trivet or base made specifically for candles.
How to Find Reputable Candle Companies
One of the ways you can learn more about the quality of the candles that a company makes, is to see if they’re a member of The National Candle Association. The NCA has strict guidelines that their members follow. However keep in mind that there are other quality candle companies that may not be a part of the association. However, this will give you a good reference starting point. For companies not listed as NCA members, you may need to do a little digging to find out more about their quality and manufacturing standards.
Candle Safety Tips
- Keep candles out of reach of children and pets.
- Never leave a burning candle unattended. Always extinguish candle flames before leaving a room or the house.
- Keep a 1 foot radius clear around a burning candle.
- Never fall asleep with a candle burning.
- Keep battery operated lighting and flashlights for power outages. Avoid using candles as a light source.
- Never leave children or pets unattended with a burning candle.
- Always set candles on a heat safe surface.
- Never put a burning candle on a bookcase. The heat will build up on the shelf above and cause scorching or fire.
Candle FAQ
Candle sweating can occur for a couple of reasons. First, 100% soy candles are prone to sweating. Extreme temperature changes can cause the natural oils and wax to seperate. Another cause of sweating, may be that the manufacturer used too much oil during the making of the candle. In either instance, you can gently wipe your candle with tissue paper to remove the excess oil.
Candle tunneling is usually caused when a candle doesn’t have a long enough burn time on the first use. Candle wax has “memory,” and will only burn as far out from the wick as it did on the first lighting.
Another cause of tunneling, is when you don’t have enough wicks to heat up your entire candle surface area. This is why it’s always best to purchase candles with multiple wicks.
Refer to the question above about tunneling.
According to The National Candle Association, fragrances that have been approved for fragrance usage, be it natural or synthesized, do not release toxic chemicals.
Lead wicks were officially banned in the United States in 2003. Prior to this, they were mostly used in cheap, imported candles.
No. All quality candle wax burns cleanly and safely. The type of wax used will depend on the preference of the manufacturer or the suitability to the candle being made.
Not necessarily. Ingredients in quality candles, such as those used by members of The National Candle Association, are committed to only using quality ingredients in their candles, regardless if it’s synthesized or natural.
Now that you know how to burn a candle the right way, spread the love and share this post with your friends. I know they’ll appreciate the information. If you have any questions related to this post, please feel free to contact me by either leaving a comment below, or via email, jennifer@polishingpemberley.com., and I’ll be happy to help.