As an affiliate marketer and Amazon Associate I earn from qualifying purchases. This just means that if you click on a link in my blog and make a purchase, I may earn money or products from the companies mentioned in this post at no additional cost to you.
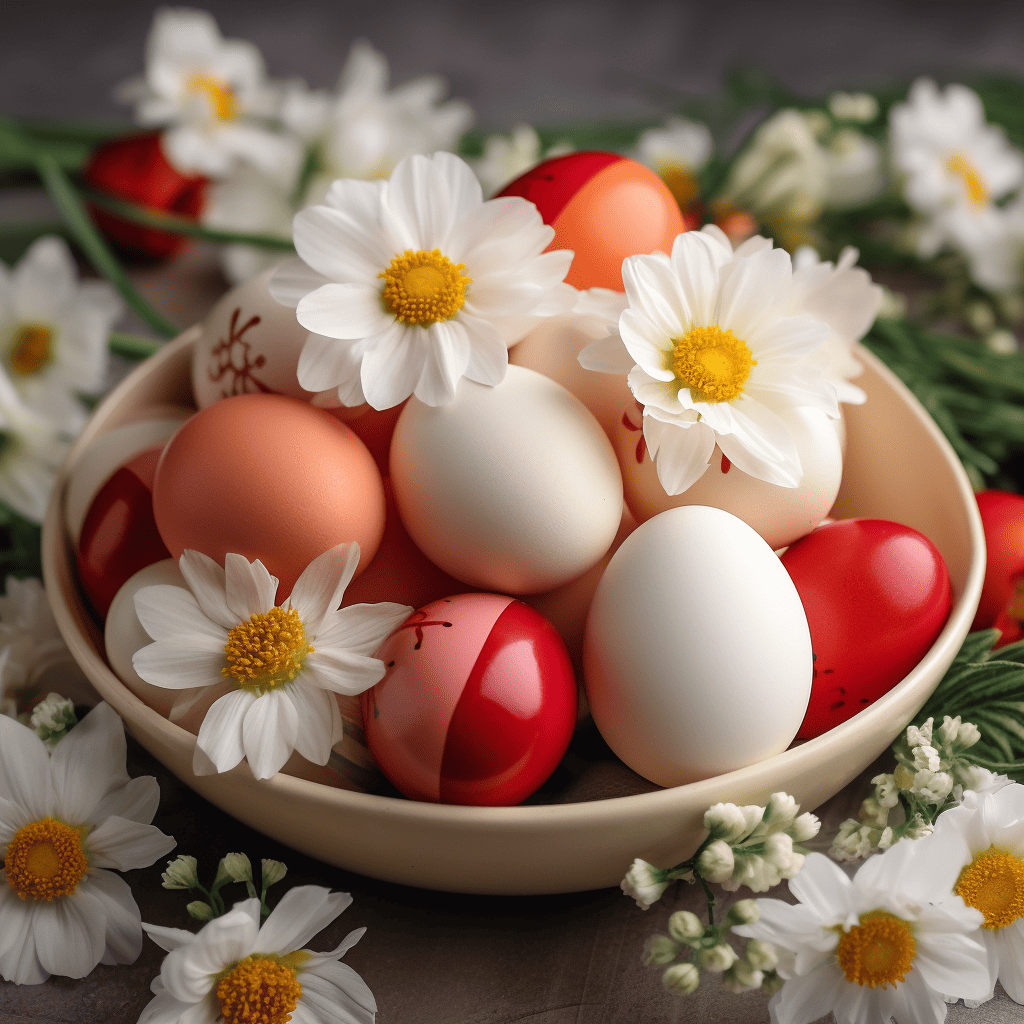
Tired of struggling with shells when peeling your boiled eggs? Believe me, I get it! Easter is one of our family’s favorite holidays and we love dying eggs. However, getting an egg to boil without cracking can feel like a real challenge. Once you get the boiling done, then you have the joy of trying to get the peel off without destroying your egg. I put together a list of tips and advice to take the frustration out of your egg dying fun.
Perfecting your egg boiling technique is easier than you might think.
- Identifying the best eggs suitable for boiling
- Important preparation steps for a flawless peel
- Mastering the boiling process for optimal results
- How to handle your eggs post-boil for easy peeling
Continue reading for expert tips that guarantee a hassle-free peel, every time.
Take the Headache Out of Boiling Eggs
My husband and I have four now adult children. We have always had so much fun dying Easter eggs together. It’s a tradition that still holds today, and now our two grandchildren are involved in the fun.
With four children, I always tried to make sure that each child had a dozen eggs to color. I would also boil an extra dozen for my husband and I. Needless to say, that’s a LOT of eggs!
Find your perfect Easter gift here.
I remember one year in particular, I started trying to get all of the Easter eggs boiled, and so help me, nearly every one of them cracked. It was so frustrating and couldn’t figure out what the problem was. I now know that my eggs, which I had just purchased, were too fresh.
Trying to boil freshly bought eggs was just one of the many mistakes I made through the years when it came to boiling eggs. I don’t want you to have the same irritation, so I decided to pull together this information to save you the headache.
Here are some other posts you may enjoy.
- Southern Sweet Tea
- Easy Japanese Salad
- Turkey Mushroom Bake
- Deep South Mustard Greens
- Strawberry Cheesecake Jello Eggs
- Apple Cheesecake Crumble
Choosing the Right Eggs
The secret to easy peeling starts long before the water boils; it begins with the eggs you choose. As I said earlier, older eggs tend to peel more easily. This is due to the pH level changes which occur naturally over time, creating more space between the egg white and the shell. While fresh eggs can make a delicious choice for other recipes, when it comes to boiling, reach for eggs that have been in your fridge for a week or two.
- Opt for eggs that are 7-10 days old for easier peeling.
- Check for any visible cracks before boiling to avoid leaks.
- Let eggs sit at room temperature for a few minutes before boiling to prevent cracking.
The Boiling Process
When it comes to boiling eggs, precision is key. Start by placing your eggs in a single layer at the bottom of a pot, ensuring they’re not overcrowded. Fill the pot with enough cold water to submerge the eggs by at least an inch. Add a pinch of salt to the water—it’s said to help with peeling later on, though the effect is minimal. I personally think a pinch of baking soda works better, but you don’t want to add this to the water if you are dying your eggs. It will cause the dye not to take as well.
If you really wanted to add the baking soda, and if you have the time, you could always rinse the eggs well and allow them to dry before dying. They should dye fine with a good rinsing. I just usually follow the other advice listed here and leave out the baking soda if I’m dying the eggs after boiling.
To prevent cracking, begin with a gentle heat. Turn the burner to a higher setting and bring the water to a rolling boil. Once boiling, reduce the heat to a low simmer. For soft-boiled eggs, simmer for 4-6 minutes. If you’re aiming for perfect hard-boiled eggs, especially for Easter egg decorations that need to be sturdy, simmer for 9-12 minutes.
One tip for those vibrant Easter eggs: consider boiling the eggs with the dye for a stronger color. Just be sure to use food-safe dyes or natural alternatives, like turmeric or beet juice. It’s not just efficient, but also a fun way to involve the entire family in the Easter spirit!
If you want to know more about beautiful natural egg dye, check out this video.
Keep an eye on the clock—the exact boiling time will determine how your eggs turn out. Undercooking or overcooking can both impact the ease of peeling and the quality of your egg. Once the timer goes off, promptly remove the eggs from heat and proceed to the next crucial phase: cooling and peeling.
Post-Boil Techniques
Once your eggs are boiled to perfection, your job isn’t done yet. Easy peeling depends on how you handle the eggs after they’re done cooking. Implement these post-boil techniques to ensure your eggs peel without a hitch:
- Immediate Ice Bath: As soon as the eggs are done boiling, transfer them to a bowl of ice water. The shock of the cold water stops the cooking process, prevents overcooking, and causes the egg inside to contract slightly from the shell, making it easier to peel.
- Peeling Under Water: Peel the eggs under a stream of water or in a bowl of water. Water helps to slip between the egg white and the thin membrane, making it easier to remove the shell.
- Rolling Technique: Gently roll the egg on a hard surface to crack the shell all the way around. Don’t apply too much pressure, as you only want to break the shell without damaging the egg white. Once cracked, the shell should come off in larger chunks.
- Use Older Eggs for Dying: If you’re boiling eggs for Easter and plan to dye them, remember that slightly older eggs tend to peel more easily. Fresh eggs have a more acidic environment, which makes the membrane cling to the shell and the white. As eggs age, the pH level rises and the bond between the shell and the egg white weakens.
Peeling hard-boiled eggs might seem tricky at first, but with a bit of practice, you’ll have the technique down to an art. Don’t get discouraged if it’s not perfect every time—consistency comes with experience! Whether it’s for a quick snack or vibrant Easter eggs, these tips will have you peeling like a pro.
Bringing it All Together
Put all of these tips to use in your kitchen and you’ll take the hassle out of egg boiling, so you can get back to having fun and making memories with your family. Getting together and having a huge Easter egg dying session is one way to make memories that will last a lifetime. I hope this little post makes happy days like this a little easier to prepare for. If you have any questions or comments, just leave them at the end of this post and I’ll get back to you. Now, go boil some eggs…

Boiled Eggs FAQs
How long can you keep hard-boiled eggs?
Hard-boiled eggs can be kept refrigerated for up to one week. It’s important that they remain in their shells until you’re ready to eat them. If peeled, consume them within the same day to ensure freshness and safety.
Can you eat eggs that have been dyed for Easter?
Eggs that have been dyed for Easter are safe to eat as long as food-safe dyes were used and the eggs were handled properly. To be safe, they should have been refrigerated within two hours of boiling and not left out for more than two hours during the dyeing and decorating process.
Is it safe to eat eggs with cracked shells?
If the eggs crack during boiling, they are still safe to eat as long as they are fully cooked. However, if shells crack before boiling and you notice any leakage or if they were stored incorrectly, it’s best to discard them to avoid the risk of bacterial contamination.
What is the best way to store boiled eggs?
The best way to store hard-boiled eggs is in their shells within the refrigerator. This protects them and prevents absorbing odors from other foods. For peeled eggs, keep them in a bowl of cold water or a sealed container with a damp paper towel to maintain moisture and freshness.